


Pantry decanting system is rapidly changing the way modern households store, organize, and preserve food staples. With strong growth in airtight container innovation, premium-tier designs, and smart technology, the right decanting system creates not only a visually satisfying pantry but also helps reduce food waste and streamline meal prep. This guide shows you what matters most in 2024—and how to use the latest approaches for best results.
Key Takeaways
- Modern pantry decanting systems blend airtight tech, modular design, and smart features for optimal food freshness and visibility.
- User pain points like failed seals and difficult cleaning are finally being addressed by new product launches in 2024–2026.
- Social media and TikTok have fueled demand for premium pantry solutions, making design and function equally important.
Table of Contents
The Core Concept: What Is a Pantry Decanting System and Why Use One?
A pantry decanting system involves moving food staples—like rice, flour, snacks, or pasta—out of original packaging and into airtight, often matching, modular containers. This system helps protect food from moisture, pests, and air exposure. It also gives you visual control over inventory, makes restocking easier, and turns your pantry into a simple, tidy, and aesthetically pleasing space.
Decanting is no longer just about looks. The latest market data shows airtight pantry containers lead the segment, claiming over 54 percent of the household food storage market by 2026 (source). Bulk buying, meal prep, and influencer-driven pantry makeovers now drive demand for high-quality, design-led storage systems (source).
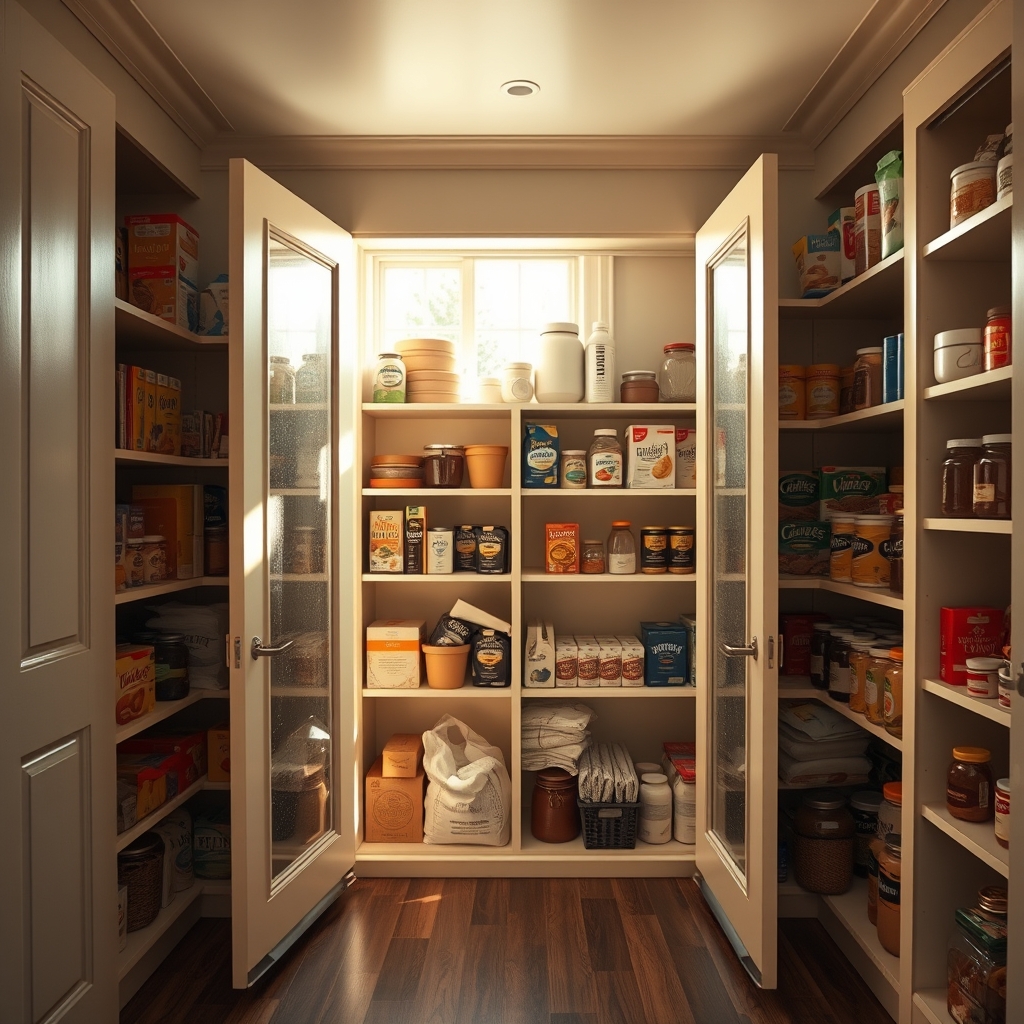
Key elements of a modern decanting system include:
- Rectangular, stackable airtight containers for maximum shelf use
- Clear bodies for easy ingredient ID and inventory
- Labeling solutions for content and expiry tracking
- Smart lids or freshness indicators in higher-end models
This approach outperforms mixed, non-modular storage that often leads to stale food, wasted space, and visual clutter. For anyone seeking efficiency, food safety, or that coveted “Pinterest-worthy” pantry, the decanting system is now the gold standard.
Step-by-Step Guide: Building Your Perfect Pantry Decanting System
- Take Inventory. List all pantry goods you want to decant. Check frequency of use, package size, and how often you restock items like flour, cereal, or grains.
- Measure Your Pantry. Record shelf depth and height. Rectangular or modular container sets allow better space planning and stacking.
- Choose Container Types.
- For bulk staples, select large, tall airtight containers or stackable bins.
- For baking supplies or snacks, opt for mid-size units for easy scooping.
- For small quantities (seeds, spices), use slim or mini containers to avoid wasted air space.
- Pick Labeling Solutions. Decide on printed, handwritten, or digital labels. Consider free printable templates from home organization blogs, or invest in customizable sets from digital marketplaces. (See FAQ for specific label resources.)
- Wash & Dry All Containers before use to remove manufacturing residue.
- Decant & Arrange.
- Using a funnel, pour each food type into its container. Add preparation instructions or expiry info beneath the label, if needed.
- Group containers by category (baking, snacks, grains) for fast access. Stack similar heights for maximum visibility.
- Reserve space for scoops, measuring cups, or special tools within your system.
- Restock & Maintain. Refill containers when they are half empty (not fully depleted) to prevent old product from sitting at the bottom for too long.
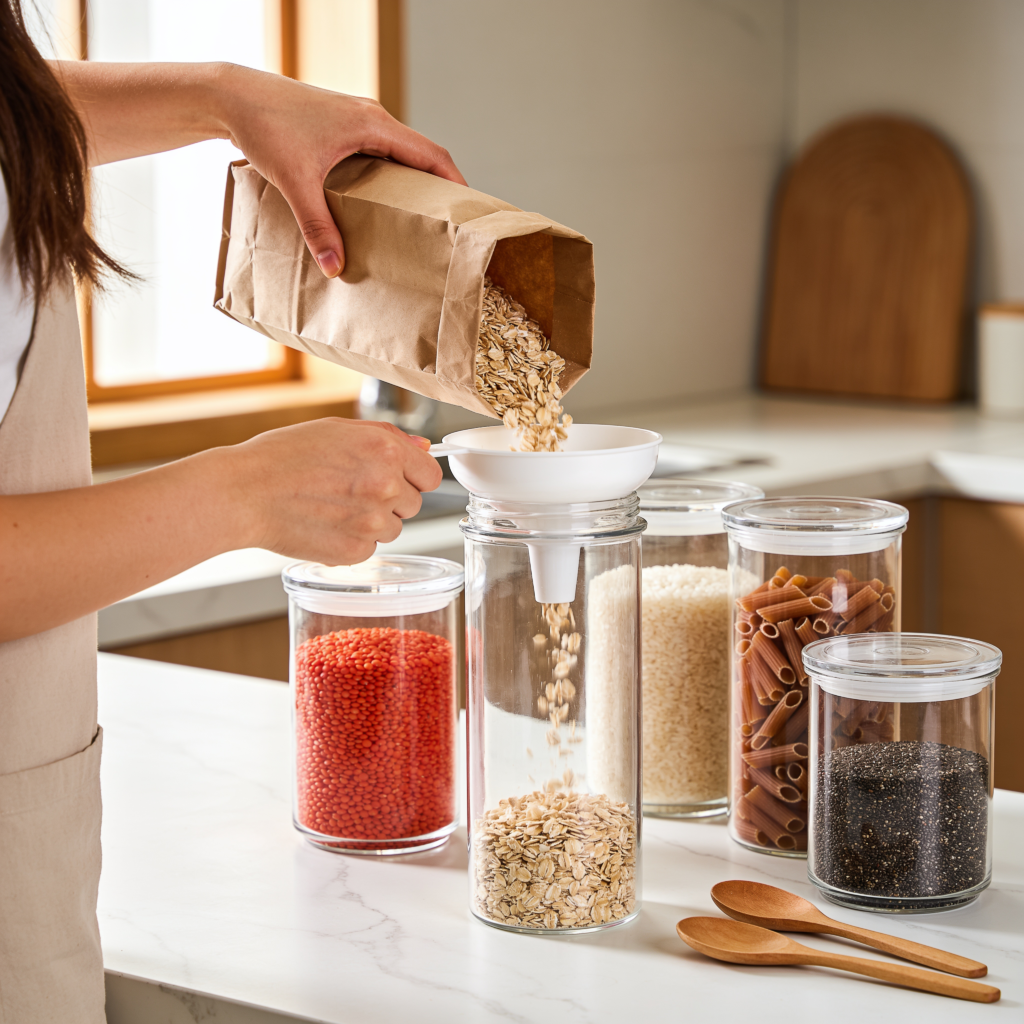
- Want to maximize shelf longevity? Invest in containers with built-in vacuum seals or smart freshness indicators—they now represent premium market growth (source).
Advanced Analysis & Common Pitfalls: What Can Go Wrong with Pantry Decanting Systems?
Despite the benefits, users encounter real problems with modern pantry decanting systems—especially when buying cheap sets or skipping product research.
- Seal Failures and Stale Food: Airtight claims often fall short due to low-quality gaskets, warping plastic, or poor lid fit. Failed seals lead to stale food, pests, or freezer burn—most common with entry-level kits. Look for containers with vacuum mechanisms or anti-spill gaskets.
- Hard-to-Use Lids: Frustrating, stiff, or complex lid mechanisms make everyday access a chore. In households with kids or mobility issues, choose easy-lift or “pop” locks over twist or clamp types.
- Durability Issues: Lower-tier plastics can cloud or crack after microwave/dishwasher cycles. Glass chips easily if knocked over. Modern PET or hybrid systems balance transparency, heat resistance, and strength.
- Size and Fit Frustrations: Containers that cannot hold whole store packages (like an entire bag of flour) result in leftovers and confusion. Not measuring your shelf depth beforehand leads to wasted vertical space or tipsy stacks.
- Label Problems: Faded ink, peeling stickers, or hard-to-clean adhesive can defeat the inventory control you’re aiming for. Consider premium printable options or label makers for long-term visibility.
| Feature | Premium Airtight Set | Entry-Level Set | Glass/Hybrid System | Smart/Vacuum Model |
|---|---|---|---|---|
| Unit Cost (2024) | $8 – $20 | Under $8 | $10 – $25 | $20+ |
| Seal Performance | Excellent (multi-year) | Inconsistent | Very good | Best (vacuum/indicator) |
| Stackability | High (modular) | Low – Medium | Medium | Medium – High |
| Material Durability | PET/Plastic | Cheap plastic | Glass or Hybrid | Composite/Hybrid |
| Smart Features | Rare | None | None | IoT, indicators, app links |
We put a mid-range airtight set through real kitchen testing to see where it falls on this spectrum. See the full review here for seal performance, durability, and value-for-money results.
Other Pitfalls:
- Hard-to-clean corners—deep or oddly shaped containers trap flour or grains. Square, wide-mouth units are easiest to maintain.
- Poor restocking workflow. If you empty and refill one container at a time, old product can linger at the bottom (risking spoilage). Adopt a batch decanting and rotating habit.
- Forgotten instructions or expiry. Move manufacturer’s info to a sticky sleeve or label the date beneath your main label.
- Excess clutter due to overbuying containers. Start with a moderate set and scale up as your system proves its value.
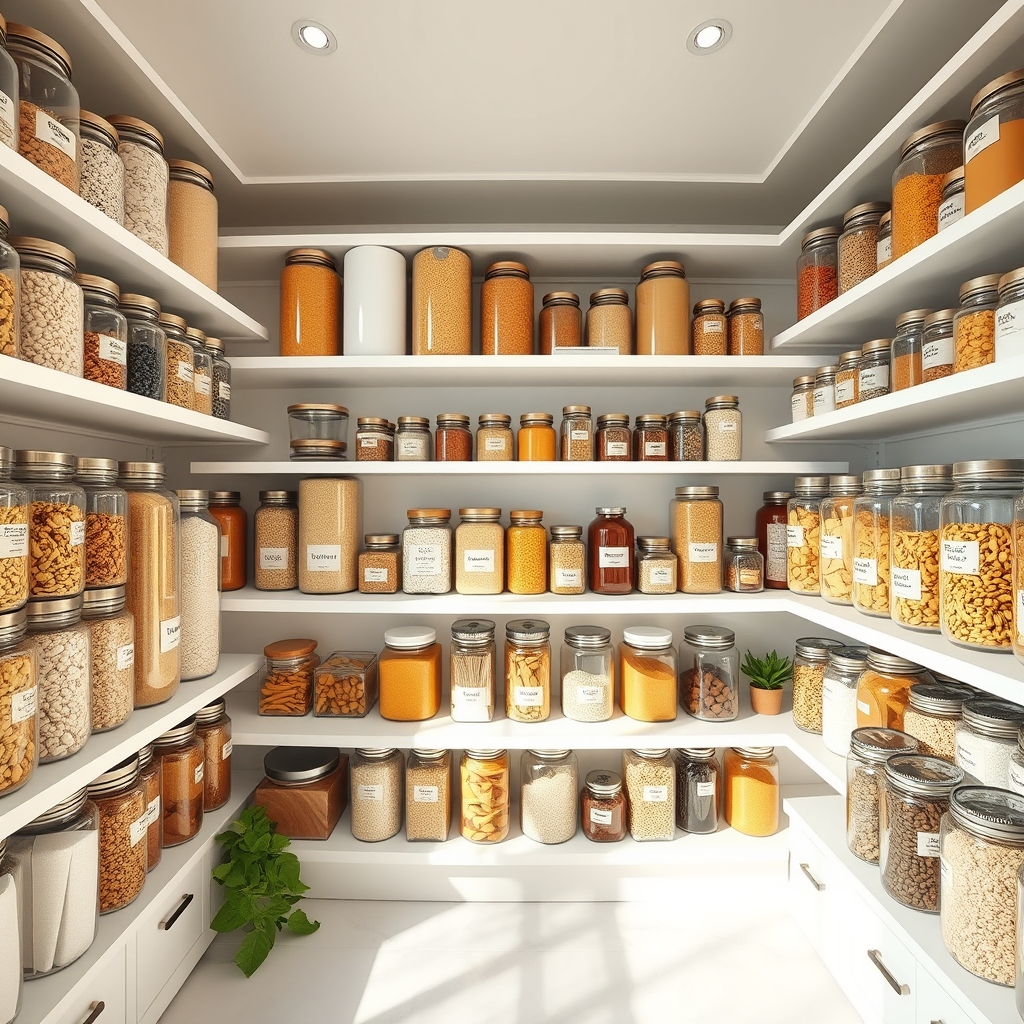
Pantry Decanting System: 5 Amazing Ways To Preserve Freshness (Proven Guide)
Keeping your food fresh for longer starts with having the right storage strategy in place. A pantry decanting system is the most effective method to transfer your dry and liquid goods out of their original packaging and into airtight containers that actively protect freshness and reduce waste. Without a pantry decanting system, food sits in torn bags and flimsy boxes that let in air, moisture, and pests, causing ingredients to spoil far sooner than they should. A well-built pantry decanting system not only keeps your kitchen organized but also saves you money by making every ingredient last significantly longer. Here are 5 proven ways to use your pantry decanting system to preserve freshness all year round.
Step 1 — Start your pantry decanting system with airtight containers.
The foundation of any good pantry decanting system is a set of high-quality airtight containers. The moment you bring groceries home, transfer flour, rice, pasta, oats, sugar, and cereals into your pantry decanting system containers immediately.The foundation of any good pantry decanting system is a set of high-quality airtight containers. If you’re not sure which set to choose, we tested a BPA-free locking-lid set hands-on — read our full airtight food containers review to see how it performed over a month of daily kitchen use.
Step 2 — Organize your pantry decanting system by ingredient sensitivity.
Not every ingredient needs the same storage conditions, and a smart pantry decanting system accounts for that. Spices, oils, and nuts degrade fastest when exposed to light and heat, so store them in opaque containers in the coolest section of your pantry decanting system. Grains and legumes do best in clear airtight containers kept in a dry spot. Matching each ingredient to the right zone within your pantry decanting system is one of the most effective freshness strategies you can apply.
Step 3 — Label every container in your pantry decanting system with a transfer date.
Skipping labels is one of the biggest mistakes people make when setting up a pantry decanting system. Write the name of the ingredient and the date of transfer on every single container in your pantry decanting system. This helps you follow a strict first-in, first-out rotation, prevents you from using expired ingredients, and ensures nothing gets forgotten at the back of your pantry decanting system shelves.Not sure where to start? Our airtight food containers review covers a complete BPA-free set with multiple sizes and locking lids — the kind of starter kit that handles most pantry staples in one purchase.
Step 4 — Add oxygen absorbers and silica gel packets to your pantry decanting system.
For ingredients you plan to keep for several months, place a food-safe oxygen absorber or a silica gel packet inside each container in your pantry decanting system before sealing it. Oxygen absorbers remove the oxygen that causes fats to go rancid and bacteria to grow. Silica gel packets control internal moisture levels. Together, these additions take your pantry decanting system to a professional level of preservation that airtight sealing alone cannot match.
Step 5 — Audit and rotate your pantry decanting system every two to four weeks.
A pantry decanting system only delivers results if you maintain it on a regular schedule. Set a reminder every two to four weeks to check expiry dates, consolidate half-empty containers, wipe down shelves, and rotate older stock to the front of your pantry decanting system. Consistent maintenance ensures your pantry decanting system keeps working at full efficiency, eliminates food waste, and keeps every ingredient fresh and ready to use all year round.
During your audit, you’ll often find half-used ingredients that don’t justify a full container. For those in-between items — open bowls, cut produce, or partially used packets — a disposable food cover keeps them sealed until your next decanting session.
Conclusion
With the right approach, a pantry decanting system protects your food, unlocks visual pantry control, and saves time in meal prep. But not all systems are equal—prioritize durability, true airtight seals, and workflow-friendly design over bargain-bin prices. In 2024, the smartest households combine modular, stackable containers with premium label solutions and even tech-enabled freshness tracking. Ready to upgrade? Start your pantry decanting system today for a space that’s both beautiful and functional.
Act now: Research top-rated sets, download label printables, or integrate smart features to future-proof your kitchen. Feeling inspired? Explore our review of the Neck Shoulder Massager for a complete home upgrade, or check the Gel Ice Face Mask for post-decluttering relaxation.
FAQ Section
How much should I budget for a high-quality airtight rectangular pantry container set?
Expect to pay $8 to $20 per container for premium sets. For a standard pantry (12 to 20 pieces), total investment runs $96–$400. Entry-level sets cost less but may have short-term durability issues.
Where can I find reliable and customizable pantry jar label printables?
Free printable labels are available from top home organization blogs such as Abby Lawson’s Just a Girl and Her Blog. For premium, editable options, digital marketplaces like Etsy offer packs from $3–$20, and most are easy to personalize.
Why do some airtight pantry containers lose their seal over time?
Gaskets and lid mechanisms in low-cost sets can degrade, warp, or fail to create a tight seal after repeated use or dishwasher cycles. Investing in brands with proven sealing technology—even vacuum features—prevents this issue.
Is it worth paying extra for smart or vacuum-sealed containers?
If you’re focused on maximum shelf life, tracking freshness, or automated inventory, smart or vacuum containers provide real benefit—especially for bulk or infrequently used staples. For daily-use basics, a quality airtight set may be enough.
[…] to store your device mask securely? See options in the pantry decanting system guide—many tips work for keeping home devices organized and […]