


Under desk cable management tray solutions are the fastest way to clean up a home office or standing desk, but choosing and installing the right one is not as obvious as it sounds. Many users struggle with cable clutter, tray compatibility, and setup pitfalls. Here’s what actually works in 2024, what breaks, and the real-world methods that keep workspaces organized without fuss—or drilling holes in an expensive desk.
And once your cables are tucked away, pairing a tray with a monitor stand riser completes the transformation — lifting your screen to eye level while adding hidden storage underneath.
Key Takeaways
- privacy skirts, zip ties, and magnetic channels—often outperform high-priced trays for hiding power strips and reducing visible cords.
What Is an Under Desk Cable Management Tray and Why Use One?
An under desk cable management tray is a mounted container or channel that holds cables, power strips, adapters, and sometimes charging bricks underneath your desk. The main aim is to keep cords completely off the floor and out of sight, reducing clutter, trip hazards, and the risk of stretching or snagging wires as you move or adjust a standing desk.
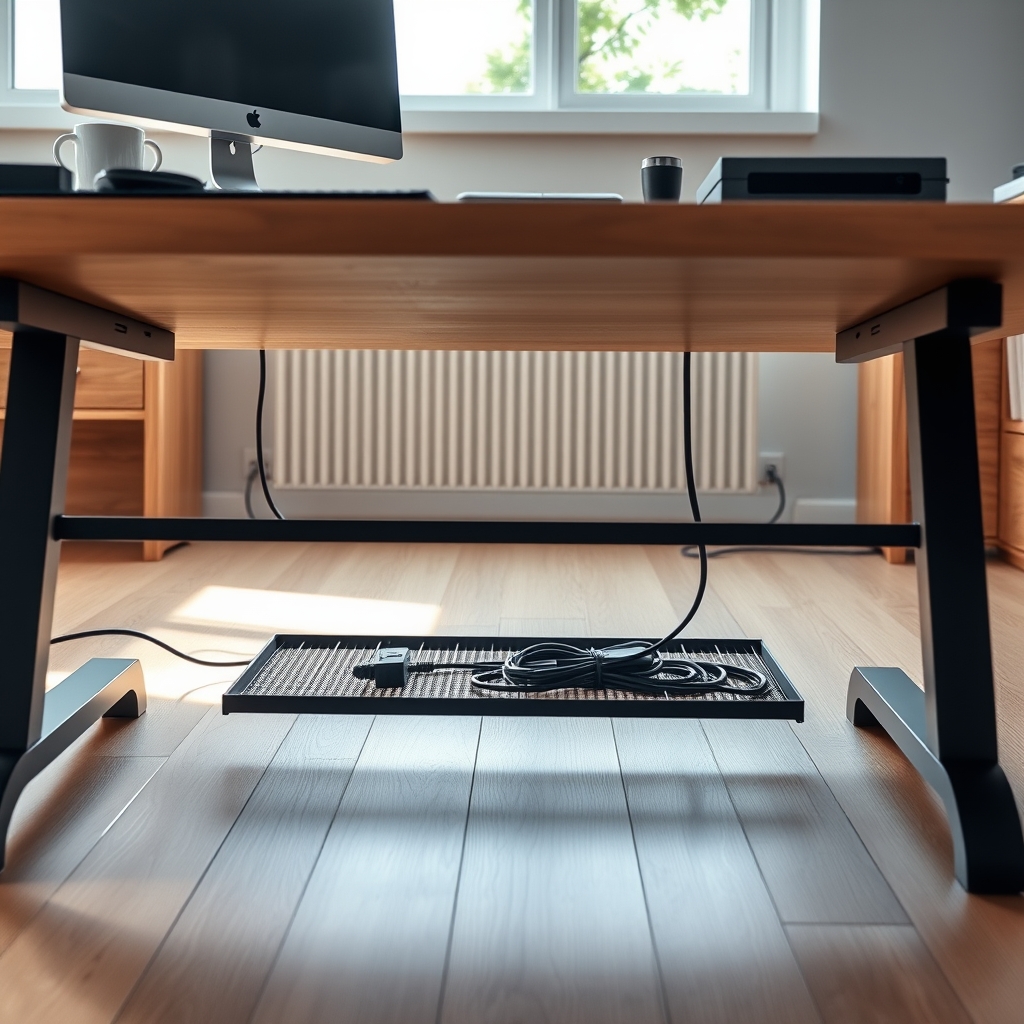
Options include metal screw-in trays (like the Stand Up Desk Store model), clamp-on trays for glass or premium tops (such as Scandinavian Hub), strong-adhesive plastic trays, and fabric privacy skirts that act as cable pouches. Integrated office-furniture solutions like Humanscale NeatTech and Oakywood offer sleek, fully enclosed baskets for premium setups. The market is fragmented, with more than 48 Amazon competitors and strong demand but no single dominant brand [ASInsight].
Table of Contents
How to Choose and Install a Tray: Step-by-Step
- Evaluate desk material and restrictions. If your desk is glass, thin, or expensive wood, avoid screw-in trays that require drilling. Clamp-on or adhesive trays work better for no-drill setups. Standing desks often need extra planning for moving parts (source).
- Choose a tray that’s deep enough for power strips and bulky adapters. Measure your largest plug and power strip before buying—many narrow trays cannot fit standard adapters. BTOD recommends matching tray size to your strip (source).
- Plan cable routing and grouping. Bundle device cables into sleeves or with zip ties. Route those bundles toward your under-desk tray location for cleanest results. Clip or tie excess length to minimize mess.
- Install the tray appropriate to your desk:
- For adhesive trays: Wipe the underside thoroughly. Align tray, apply heavy pressure, and let adhesive cure before loading. Only use on flat, smooth surfaces.
- For screw-in trays: Measure twice. Pre-drill pilot holes to prevent wood splitting. Check for interference with supports or motors on standing desks.
- For clamp-on trays or privacy skirts: Position the clamps over a stable desk edge. For privacy skirts, arrange the pouch so it hangs out of view.
- Route and label. Load cables, coil slack inside the tray, and label as you organize. Use cable clips or Velcro if needed to steer loose cords.
- Hide large devices. Mount surge protectors or power bricks directly inside the tray (if wide enough) with strong double-sided tape or adhesive, not screws, for a no-drill approach.
magnetic cable organizer for small device cables around the desktop for no-drill routing.
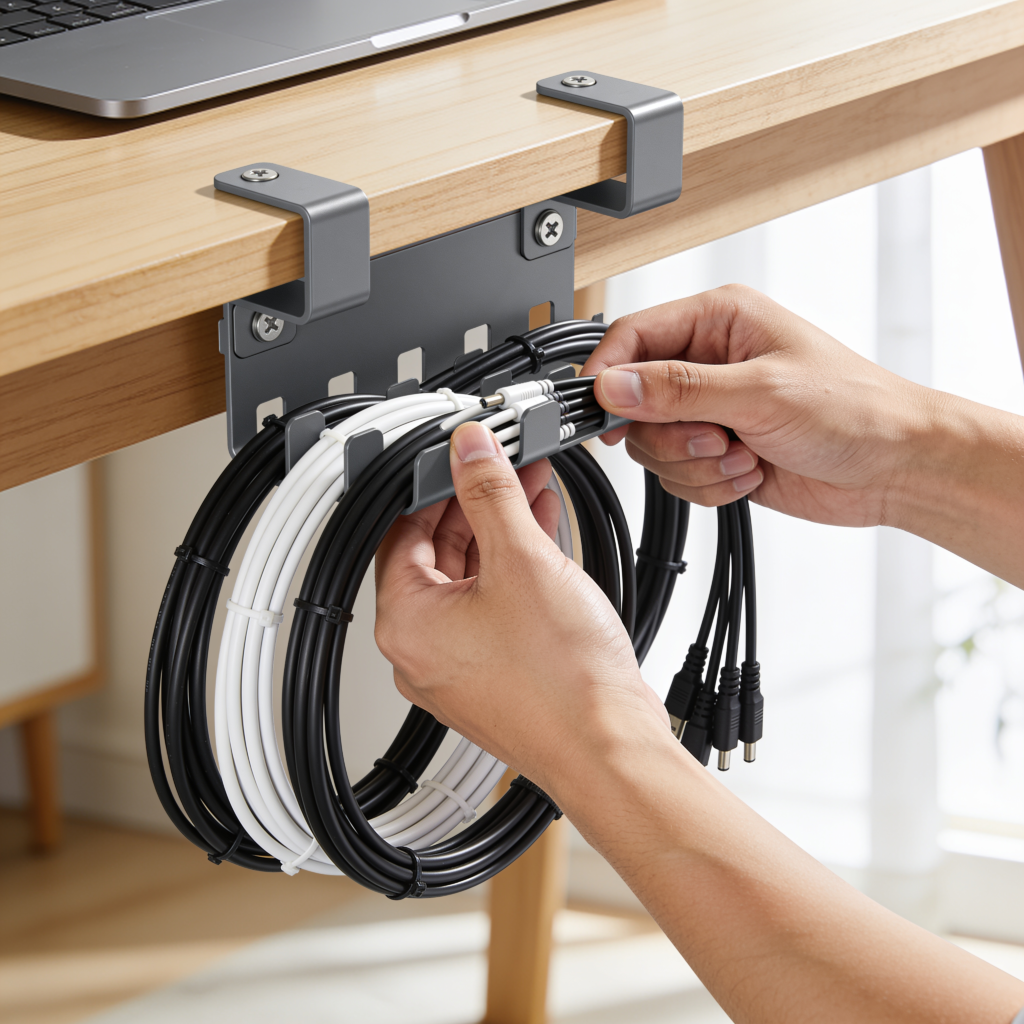
For advanced organization, label every cable with a tag or colored Velcro before bundling. This makes future upgrades or troubleshooting painless. For even better ergonomics and reduced neck pain after setup, try a monitor stand riser with built-in cable channels.
7 Best Ways to Organize Your Wires With an Under Desk Cable Management Tray
If you are tired of tangled wires beneath your workstation, investing in an under desk cable management tray is the smartest move you can make. An under desk cable management tray allows you to hide, route, and organize every single cable in your setup in one clean and dedicated space. Without an under desk cable management tray, cables pile up on the floor, collect dust, and create a safety hazard. With the right under desk cable management tray, your workspace becomes cleaner, safer, and far more productive. Follow these 7 steps to get the most out of your under desk cable management tray and finally take control of your wires.
Step 1 — Choose and mount the right under desk cable management tray.
The first step is selecting an under desk cable management tray that fits the width of your desk. Once you have the right under desk cable management tray, mount it firmly to the underside of your desk using the included screws or adhesive strips. This tray becomes the central hub of your entire cable organization system.
Step 2 — Place your power strip inside the under desk cable management tray.
Set a compact surge-protected power strip directly inside your under desk cable management tray so all device adapters plug in underneath the desk. With your power strip secured in the under desk cable management tray, only one cord needs to run down to the wall outlet, instantly cutting visible clutter in half.
Step 3 — Group your cables before loading them into the under desk cable management tray.
Bundle related cables together using reusable velcro ties before routing them into your under desk cable management tray. Grouped bundles take up less space inside the under desk cable management tray and are far easier to trace or replace when needed.
Step 4 — Separate power and data cables inside the tray.
When loading cables into your under desk cable management tray, keep power cords on one side and data or USB cables on the other. Many under desk cable management tray models include built-in dividers specifically for this purpose, which protects your signal quality and reduces interference.
Step 5 — Use cable raceways to feed wires into the under desk cable management tray.
Attach adhesive cable raceways along the frame or edge of your desk to channel wires cleanly from your devices down into the under desk cable management tray. This eliminates dangling loops between your equipment and the tray and gives your setup a polished, professional look.
Step 6 — Label every cable going into the under desk cable management tray.
Once cables are tucked inside your under desk cable management tray they become invisible and nearly impossible to identify. Label each end of every wire before it enters the under desk cable management tray so you can swap or unplug devices without dismantling your entire setup.For cables that don’t live inside the tray — like your daily-use phone charger or headphone cable — a magnetic cable organizer keeps them visible, labeled by slot, and always within one-handed reach.
Step 7 — Audit your under desk cable management tray every few months.
Open your under desk cable management tray every quarter and remove any cables that no longer connect to active devices. Keeping your under desk cable management tray free of dead cables ensures it stays efficient, organized, and ready to handle any new devices you add to your workspace.
Advanced Pitfalls and Brand Comparison
Most user complaints come down to three issues: installation mishaps, durability, and compatibility. Here’s what to expect—and how major tray types stack up.
| Tray Type | Installation | Durability | Compatibility | Best Use Case | Typical Price |
|---|---|---|---|---|---|
| Adhesive Plastic/PVC Tray (e.g., “No-Screw” models) |
Quick stick-on 5–15 min No drilling |
Good if not overloaded Adhesive may weaken over months under heavy load |
Best for light setups on smooth wood/Laminate Fails on textured or vertical surfaces |
No-drill desk, budget home office | $15–30 |
| Metal Screw-In Tray (e.g., Stand Up Desk Store) |
Drill required 20–45 min |
Rigid, but cheaper models may flex when full | Works on solid wood/composite desks Can’t use on glass/thin tops |
Standing desks, heavy gear | $30–60 |
| Clamp-On Tray/Skirt (e.g., Scandinavian Hub, Vivo) |
Manual clamps 10–20 min No tools |
Sturdy Not for very thick/chamfered desk edges |
Great for glass, premium, or rental desks Reusable |
Temporary setups Rental property |
$30–60 |
| Enclosed/Basket Type (e.g., Humanscale NeatTech, Oakywood) |
Screw or bracket mount 15–30 min |
High-quality, lasts years | Fits most commercial desks Overkill for small setups |
Premium office, shared spaces | $70–150+ |
| DIY: Privacy Skirt, Magnetic Channel, Zip Ties | Instant, tool-free (magnetic or clamp-on) |
Flexible Can be replaced for pennies |
Universal, but less neat for huge bundles | Saving money, frequent reconfigs, dorms | $10–25 |
- Adhesive trays are easy but may fail over time, especially with weight or heat (BTOD test).
- Screw-in trays are strong but risk desk damage; they’re not a fit for glass or ultra-thin tops.
- Clamp-on trays are best where drilling isn’t allowed, but may not fit thick or shaped desk edges, and might slip if overstuffed.
- Basket/enclosed trays look tidy and can help ventilation. They’re usually pricier, but less visible and easier to adjust (fold-down designs like NeatTech).
- Compatibility with narrow power strips is a common fail point—many trays are not wide or deep enough for standard surge protectors. BTOD’s advice: choose narrow power strips for narrow trays.
Wireless charging integration helps reduce surface clutter but doesn’t remove the need for trays: wireless pads still require power, hidden with trays beneath. Overheating can become an issue if too enclosed, especially in a basket system.
For standing desks, mounting position and slack are critical—cables must have enough room to follow up/down movement. Magnetic cable organizers or privacy skirts are the easiest way to add slack without constant tray adjustments. Get more advanced cable organizer tips in our review of the magnetic cable organizer.

Conclusion & CTA
Choosing the right under desk cable management tray depends on your desk, devices, and tolerance for tools. Adhesive and clamp-on trays are ideal for renters or glass tops. Screw-in metal trays are best for heavy equipment and those who don’t mind drilling. Hybrid DIY setups using zip ties, magnetic channels, and privacy skirts offer low-cost, flexible alternatives.
The key is to measure first, bundle and label cables, and don’t be afraid to go beyond just a tray—smart hacks beat more money spent. Ready to transform your setup? Start by matching the right under desk cable management tray to your actual needs and try at least one unconventional trick from this guide. Your workday—and your back—will thank you. Speaking of which, if hours at your desk have already left you with neck and shoulder tension, a neck shoulder massager can undo the damage while you enjoy your newly organized workspace.
FAQ
Can I use an under desk cable management tray if I have a glass or premium wood desk?
Yes. Clamp-on trays and strong-adhesive trays are specifically designed for desks you don’t want to drill. Always check your desk thickness and surface for compatibility.
Will a cable tray hide power strips, or only cables?
Wide and deep trays (usually 4 inches or more) will hold standard power strips and adapters; many slim trays cannot. Always check the tray’s dimensions and consider pairing with a narrow power strip.
How long does it take to install a typical cable tray?
Adhesive trays: 5–15 minutes. Clamp-on: 10–20 minutes. Screw-in metal: 20–45 minutes. Most of the work is planning and routing cables, not mounting the tray.
Are there any creative, low-cost alternatives to store-bought trays?
Absolutely. Use zip ties, magnetic cable channels, privacy skirts, or even strong double-sided tape for mounting surge protectors. These methods are trending for 2023–2024 and often outperform standard trays for flexibility.
Do wireless charging pads eliminate the need for cable management trays?
No. While they reduce the number of surface cables, wireless chargers still need to be powered—and their cords and bricks are best hidden in a tray or organizer below the desk.
[…] more ergonomic solutions in articles like under desk cable management tray for integrating organizational products throughout your […]
[…] Want more actionable upgrades for your living space? If cable chaos is also a problem, check our research-backed guide to under desk cable management tray systems. […]